
We removed the VNIC E1000 and added a new NIC with VMXNET3 on one of the windows 2008 VM , noticed that windows doesn’t delete the hardware and it just moved as a hidden device.
After spending some time , I got the below method to remove the NIC Completely.
Open the CMD ( Run as Administrator )
Run the below commands
- SET DEVMGR_SHOW_NONPRESENT_DEVICES=1
- START DEVMGMT.MSC

Make sure to open the device manager using the CMD Prompt.
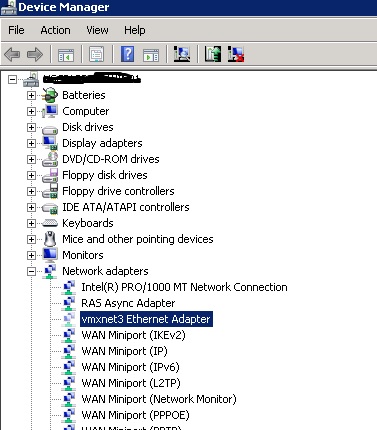
Go to View and Select “Show Hidden Devices”.
Select Network Adapters and we can see VM NICs which was removed and it will be grayed out.
Right Click and Uninstall.
Reference : JERAMIAH DOOLEY Blog and Microsoft Windows Article .


Loved readding this thanks
LikeLike