Pls check my previous blogs for DSM , Relay Server , vShield Endpoint and Filter Driver installation and its functions.
Update:2\27\2016
Also check the new blog about Trend DSM9.5 upgrade to 9.6 and steps to install the filter driver \ DSVA on ESX5.x under Trend DSM 6.0 SP1
In this blog we will see the deployment of the Deep Security Virtual Appliance-DSVA with ESXi Host and its features which I learned from my experience and also shared the important contents from the Trend articles which was very useful for my deployment.
In this section we will see the below topics about the Deep Security Virtual Appliance-DSVA.
1. Basic functions and the requirements of DSVA.
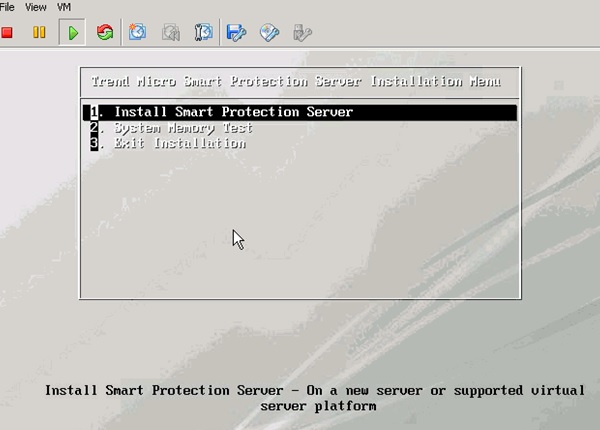
2. Installation Steps of DSVA.
3.Verifying the installation of DSVA.
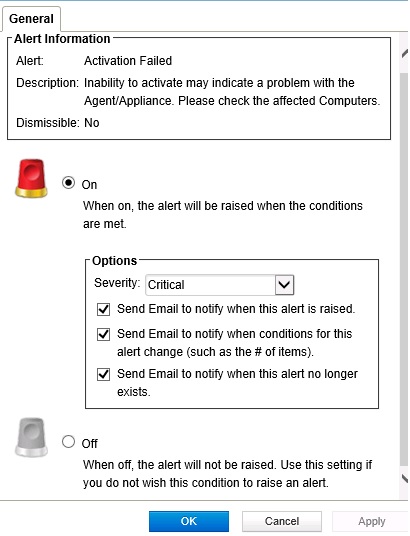
4.Deep Security Virtual Appliance (DSVA ) failure or down.
5.Advantages\Disadvantages of DSVA.
6.Deep Security Virtual Appliance (DSVA) Networking.
7.Sizing recommendations for DSVA.
8.Upgrading of Deep Security Virtual Appliance (DSVA).
Basic functions and the requirements
Once the filter driver is installed the next step is to install the DSVA and it will be installed on every ESXi Host.DSVA enables agentless Deep Security control and management with the hypervisor, providing Anti-Malware, Intrusion Prevention, Integrity Monitoring, Firewall, Web Application Protection and Application Control protection to each VM. DSVA will communicate directly with the DSM and it is recommended to enable the affinity rules within VMware to lock each DSVA to their required ESXi host.
DSVA and Filter Driver Package It is required to download the Filter driver and DSVA installer packages onto Deep Security Manager prior to deploying DSVA and adding the vCenter server onto DSM
DNS Resolution : Ensure that the DSVA can resolve the FQDN of the Deep Security Manager and that the ESX server is able to connect to the DSM FQDN at port 4119. There will be issues installing the driver and deploying DSVA if ESX cannot do so.Ensure that the DSM and vShield Manager FQDN can be resolved by DSVA.
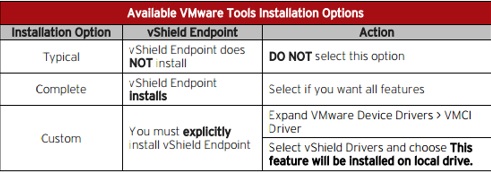
VMware tools : There is no need to update the VMware tools within the Deep Security Virtual Appliance. DSVA uses the device drivers that come with the version of tools it was built with. When an upgrade of tools is done, DSVA may not start.
Change the default password : Default password for the deployed DSVA image is “dsva”. We recommend that this be changed after the install. To do so, press and select the option “Configure Password” on the console.
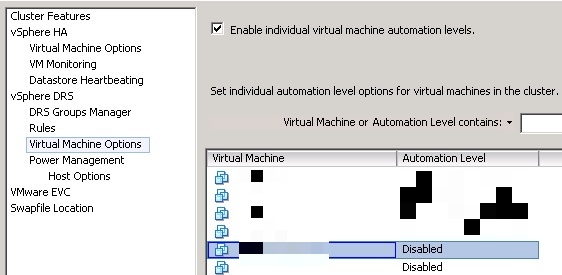
Do not vMotion DSVAs : Make sure that the DSVAs do not vMotion. For this reason, the recommended naming convention for the appliances is to use the name of the ESXi host (it is located on) pre-fixed or suffixed. Better way to avoid the vMotion is to configure the DSVAs in local datastore of the ESX and name the DSVA similar to the corresponding ESXi host so that it is easy to identify which DSVA belongs to which ESXi.
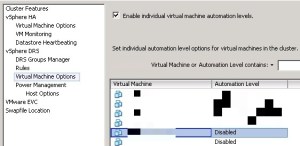
The DSVA deployment wizard will set the “Automation Level” to “Disabled” in the DRS settings for the cluster. This means that the DRS will not vMotion the DSVA by default.
Make sure DSVAs are always on and the first to start up after maintenance.If maintenance is required on the ESXi host and DSVA needs to be shut down, ensure that it is the first VM to start running after the maintenance.In the latest patch 2 for 9.5 SP1 and in 9.6 version , if you put the ESX in to MM then it automatically shutdown the DSVA and no need any manual step required to do the same.
Ports to be opened to activate the DSVA.
DSM –> DSVA/DSA – Port used: 4118 for manager initiated communication
DSVA/DSA –> DSM – Port used: 4120 for agent initiated communiction
DSVA/DSA –> Relay – Port used: 4122 for sending updates etc
Deep Security Virtual Appliance
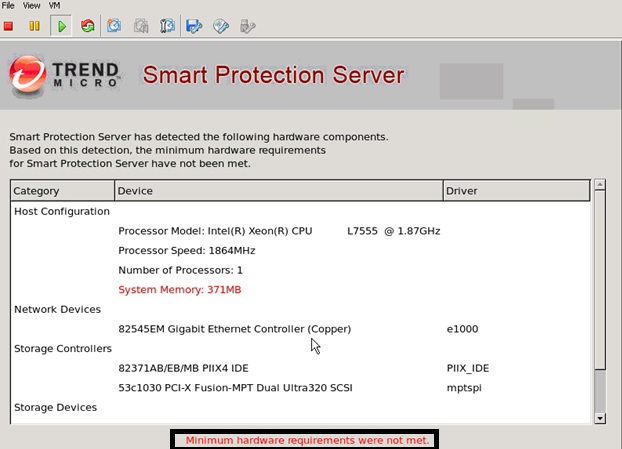
- Memory: 4GB
- Disk Space: 20GB
- VMware Environment: VMware vCenter 5 and ESXi 5
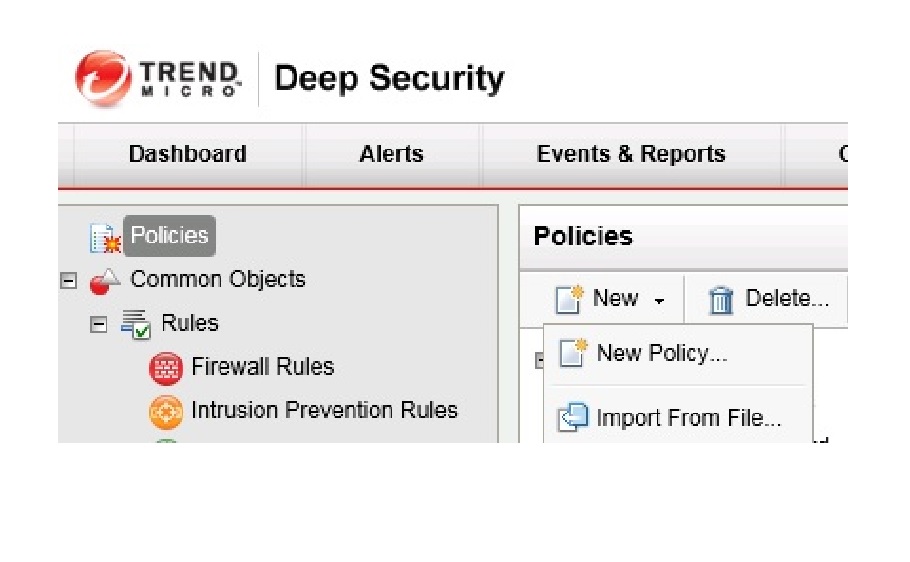
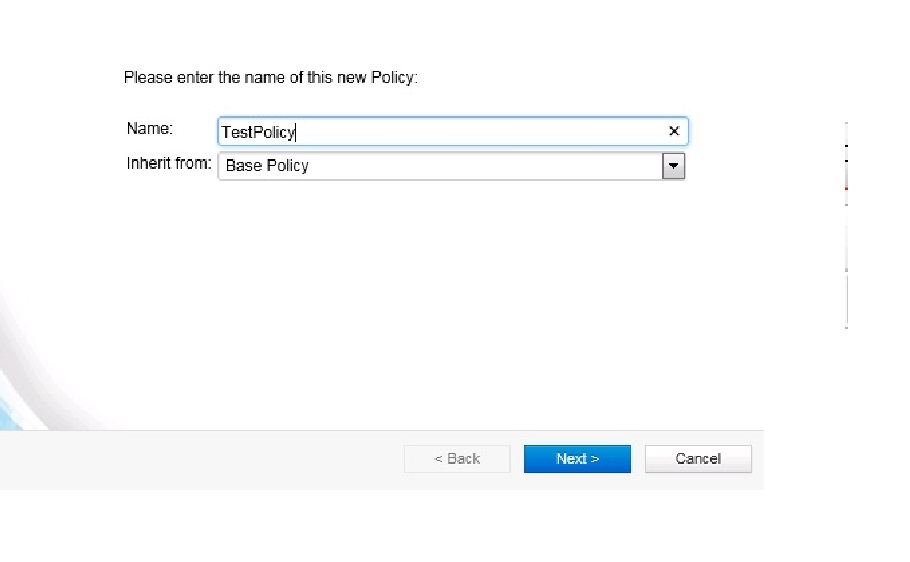
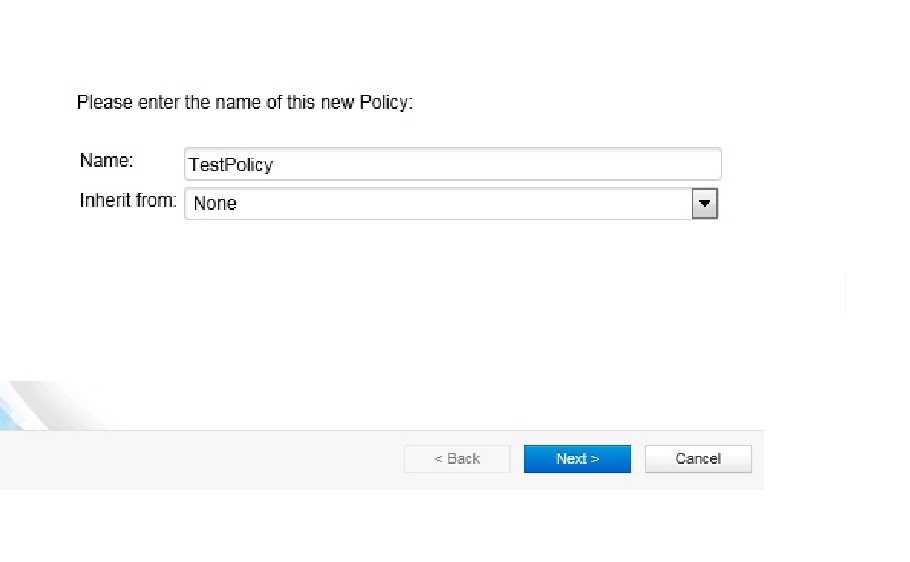
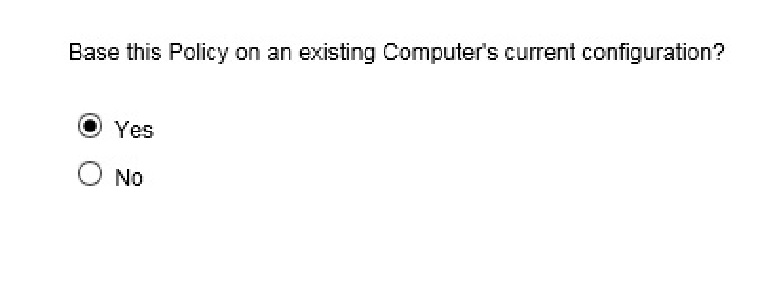
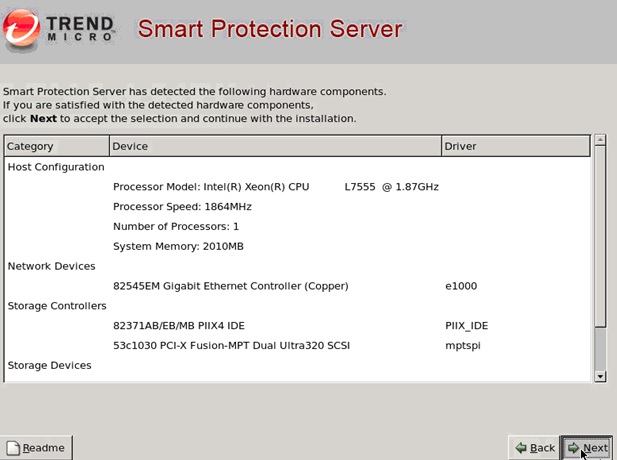
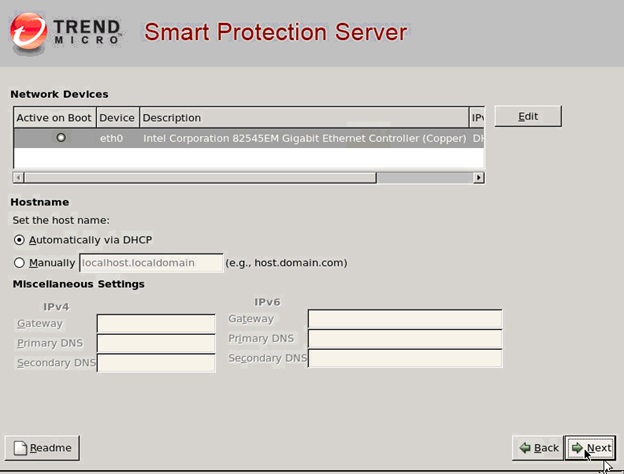
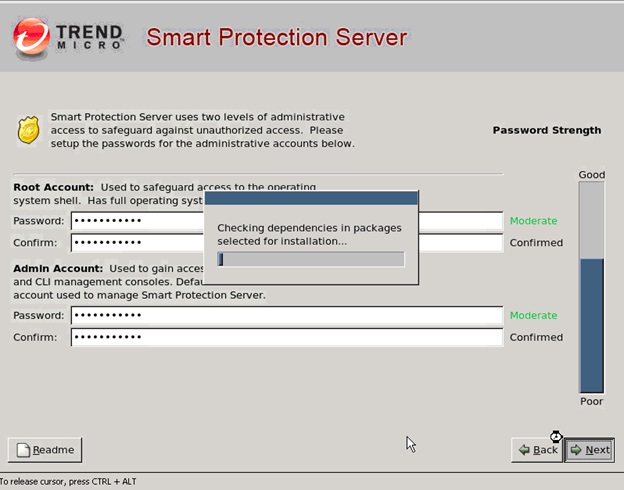
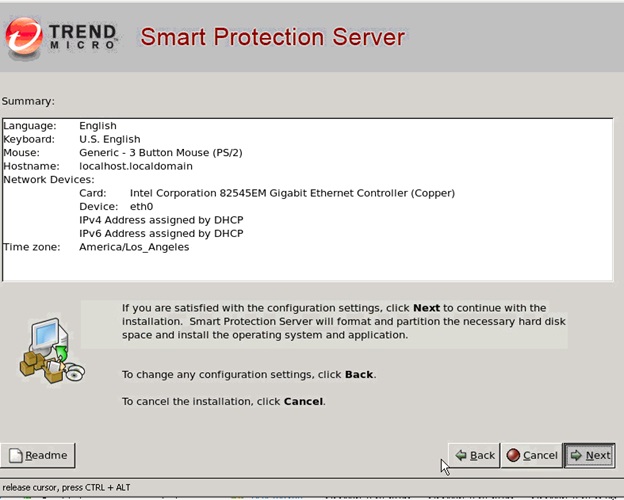
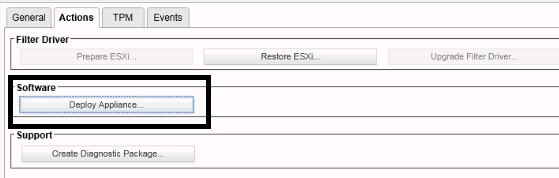
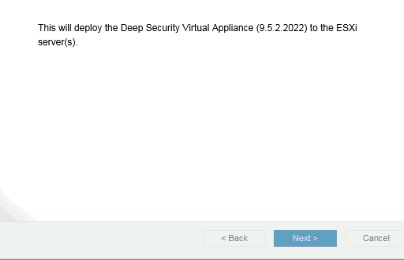
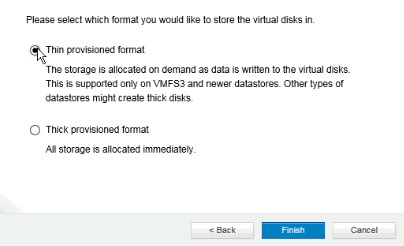
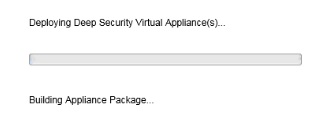
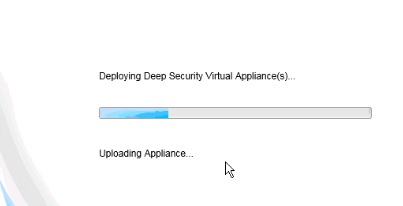
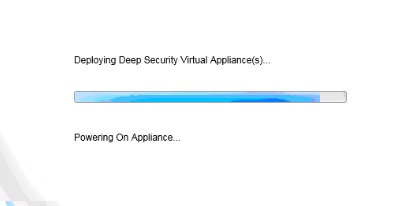
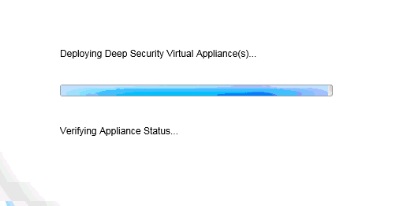
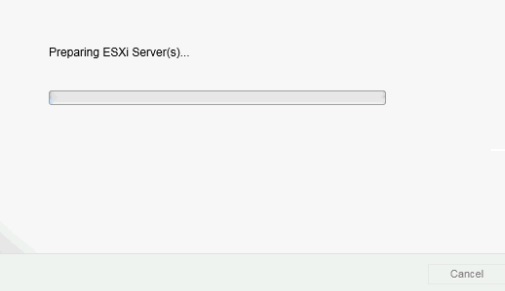
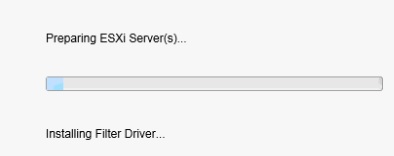
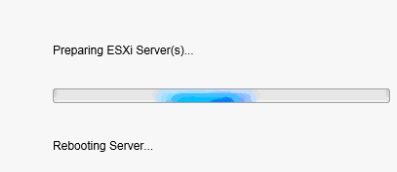
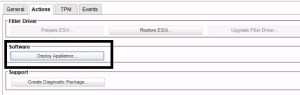
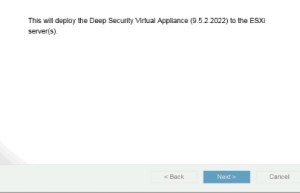
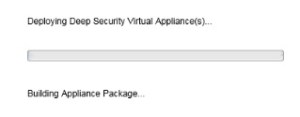
Installation Steps of DSVA.
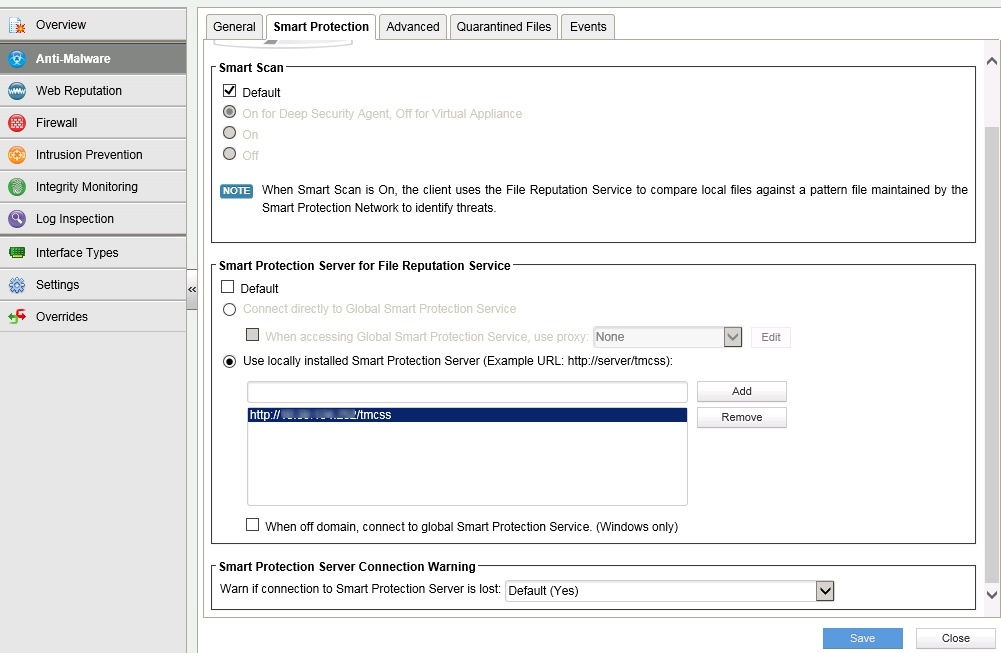
Pls make sure to select the local datastore and also the Vlan which connects the DSM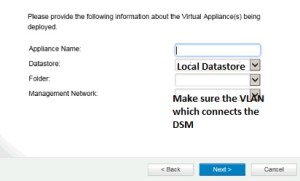


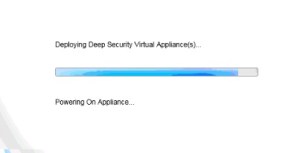
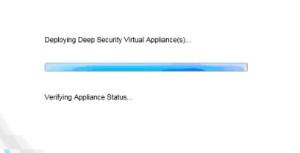
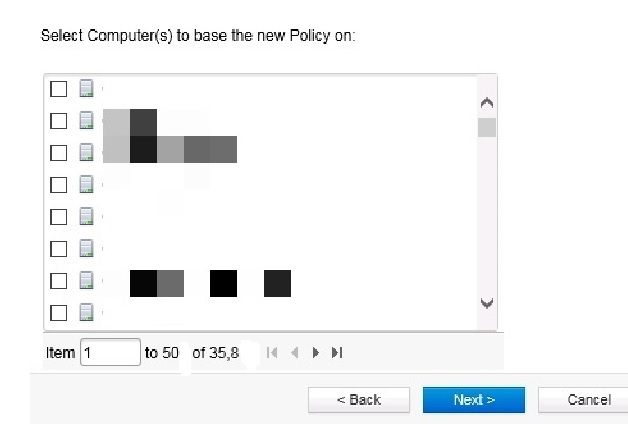
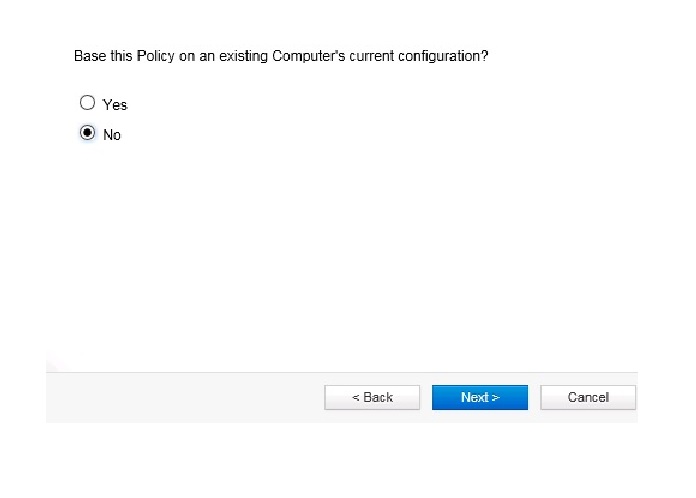
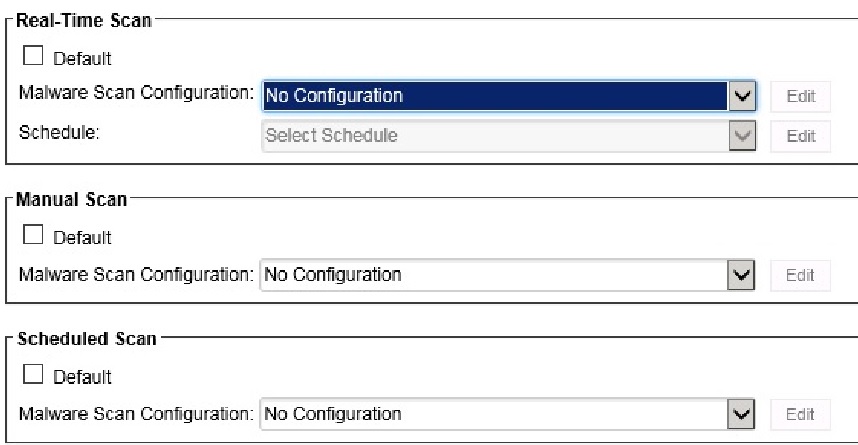
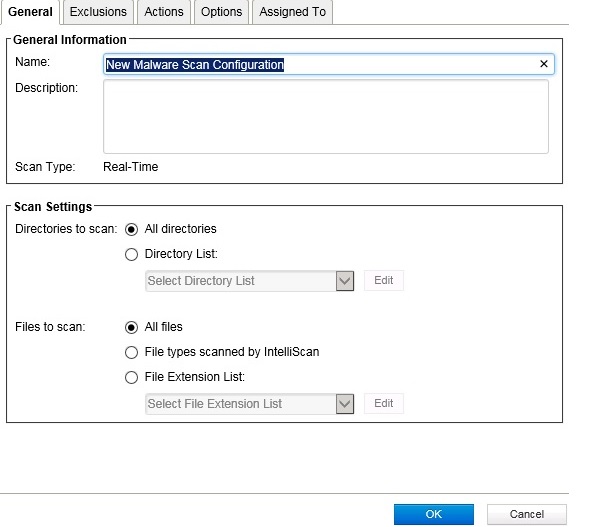
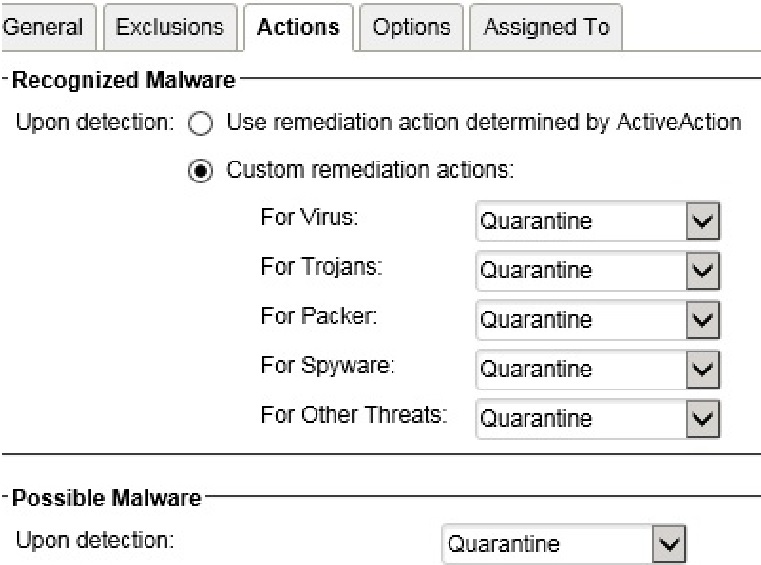
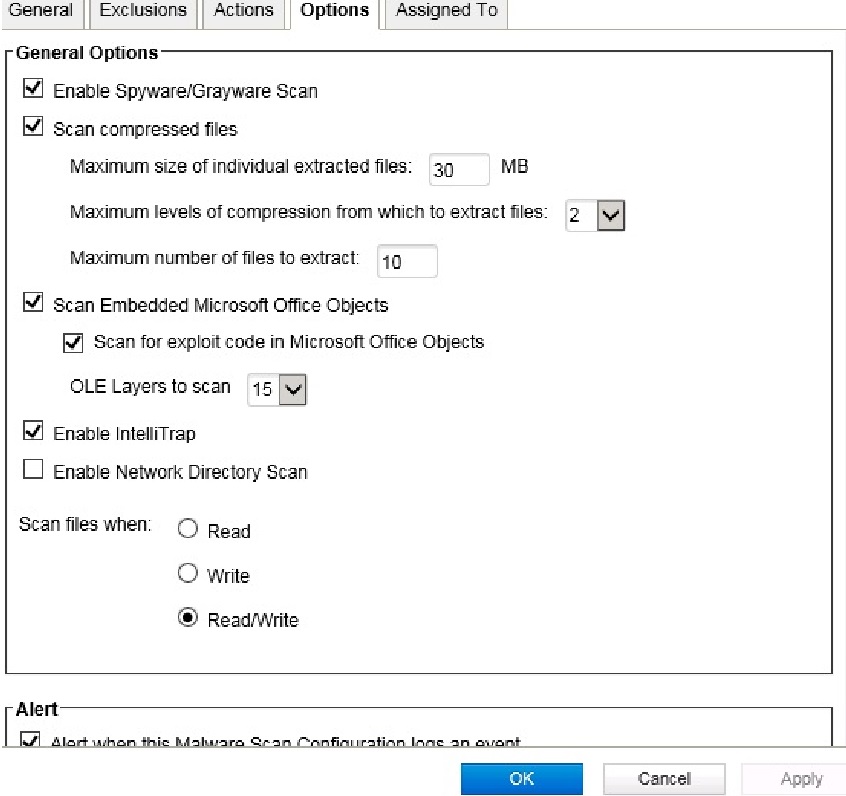
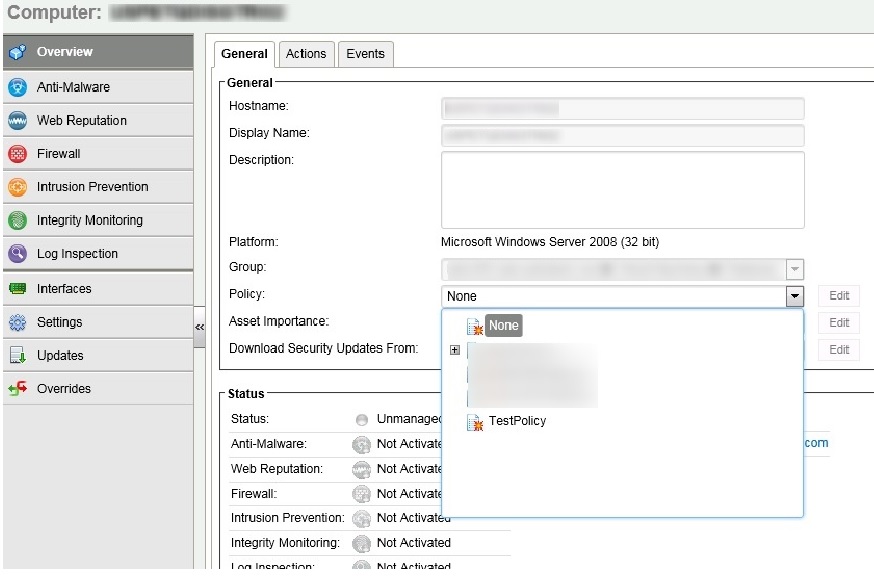
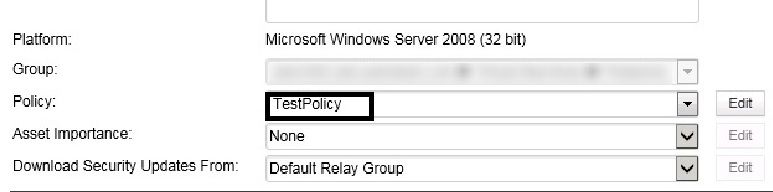
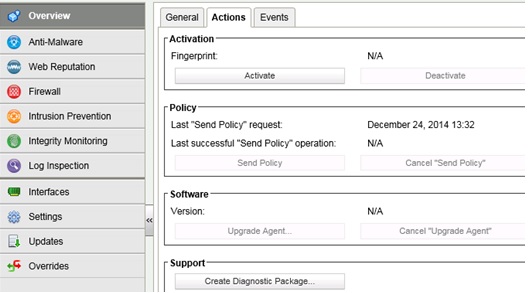
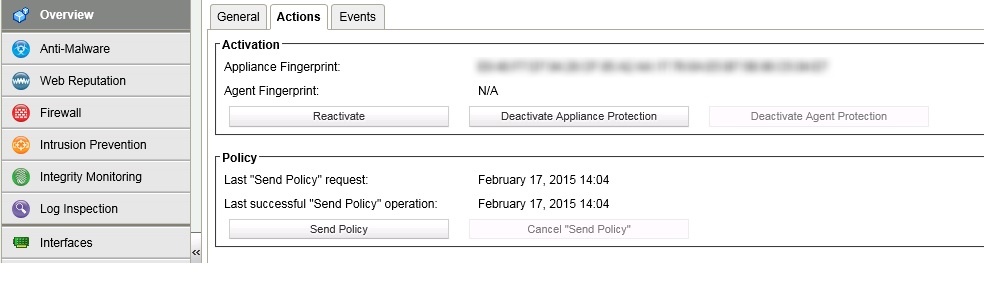
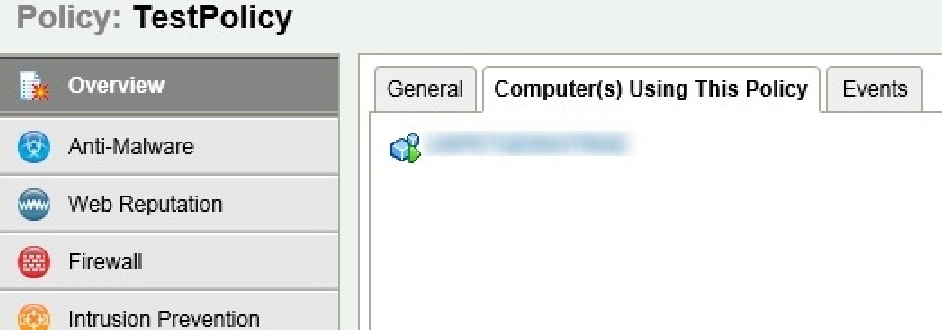
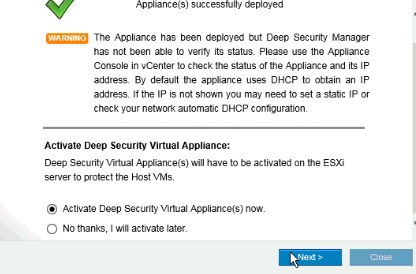
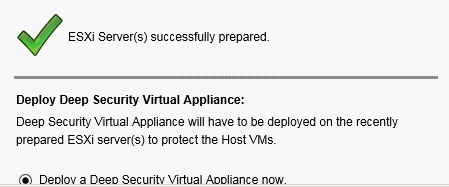
Activate the DSVA and also select the appropriate policy for the same.


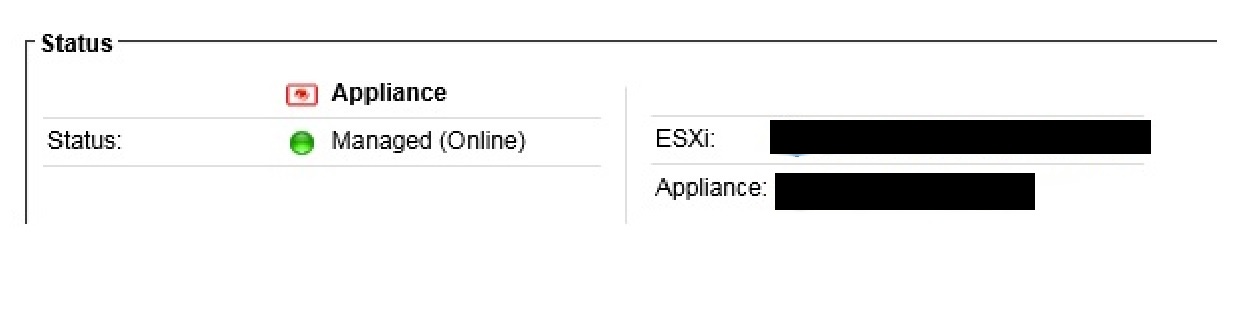
Once the activation is completed , we can verify the installation of the DSVA .
Verifying the Installation of the DSVA.
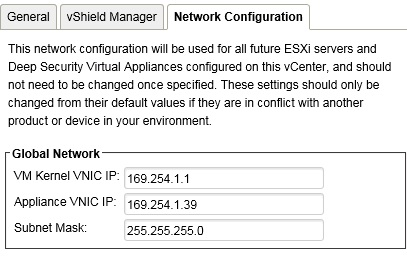
Once we added the vCenter and the vSheild Amanger, we can see the two IPs in the network configuration properties ( VM Kernel VNIC IP and Appliance VNIC IP ). It is the default IPs assigned on 169.254.1.1/24 , If need we can change the same but need to do before the filter driver installation on the ESX host.
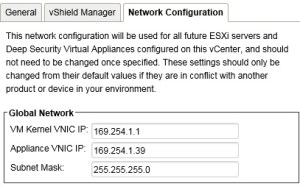
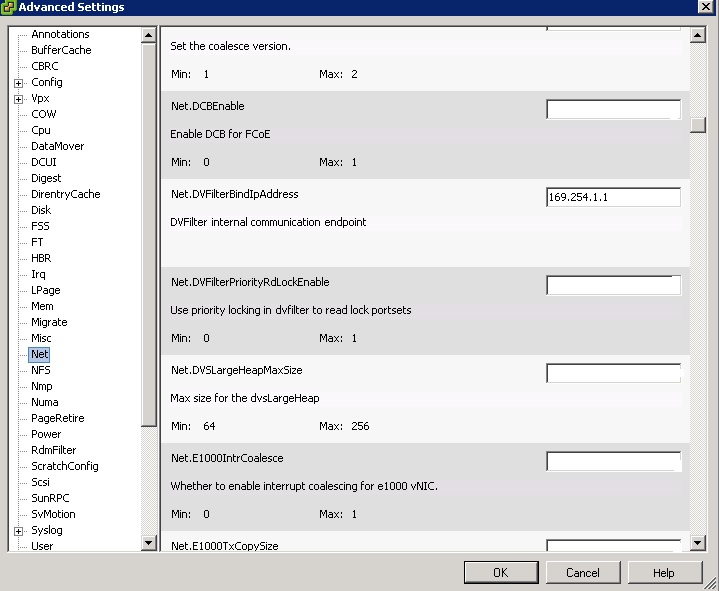
VM Kernel IP.
If we check the advance settings of the ESXi host, we can find the kernel IP 169.254.1.1 .

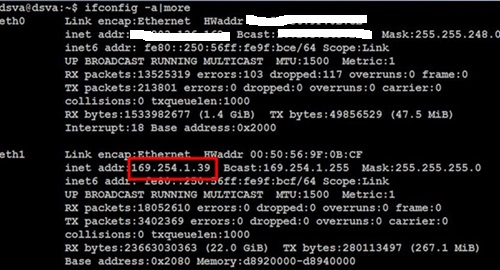
Appliance IP.
After the DSVA deployment the internal IP – 169.254.1.39 will be assigned , this IP will be the same for each appliance deployed in ESX cluster from each host.Pls note the External IP which we use to assign is different and its used for Managment.
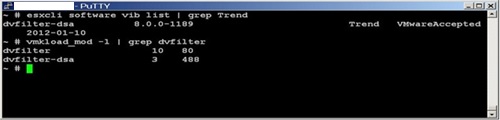
Also the following entries should be in the VMX file of the DSVA:
filter0.name = “dvfilter-faulter”
filter0.param0 = “dvfilter-dsa”
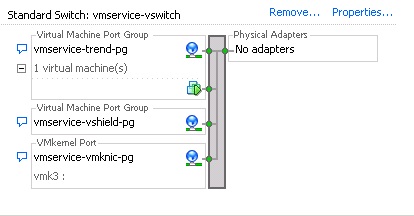
The second and third vNIC of the DSVA should connect to vmservice-trend-pg:
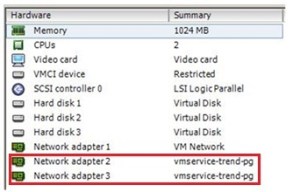
Pls note that first two adapter ( 1 and 2 ) should be in E1000 and the last network adapter 3 must be in VMNET3 . If any change in the network adapter type then the communication between the ESX – DSVA will fail and it will cause slowness on the VM traffic so dont ever change these settings and leave the default which comes with DSVA.
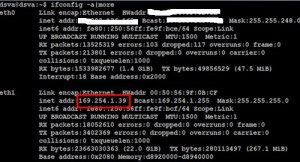
From the DSVA we can run the ping test to check the connection to the host.
~ # ping 169.254.1.1
PING 169.254.1.1 (169.254.1.1): 56 data bytes
64 bytes from 169.254.1.1: icmp_seq=0 ttl=64 time=0.173 ms
64 bytes from 169.254.1.1: icmp_seq=1 ttl=64 time=0.127 ms
64 bytes from 169.254.1.1: icmp_seq=2 ttl=64 time=0.109 ms
— 169.254.1.1 ping statistics —
3 packets transmitted, 3 packets received, 0% packet loss
round-trip min/avg/max = 0.109/0.136/0.173 ms
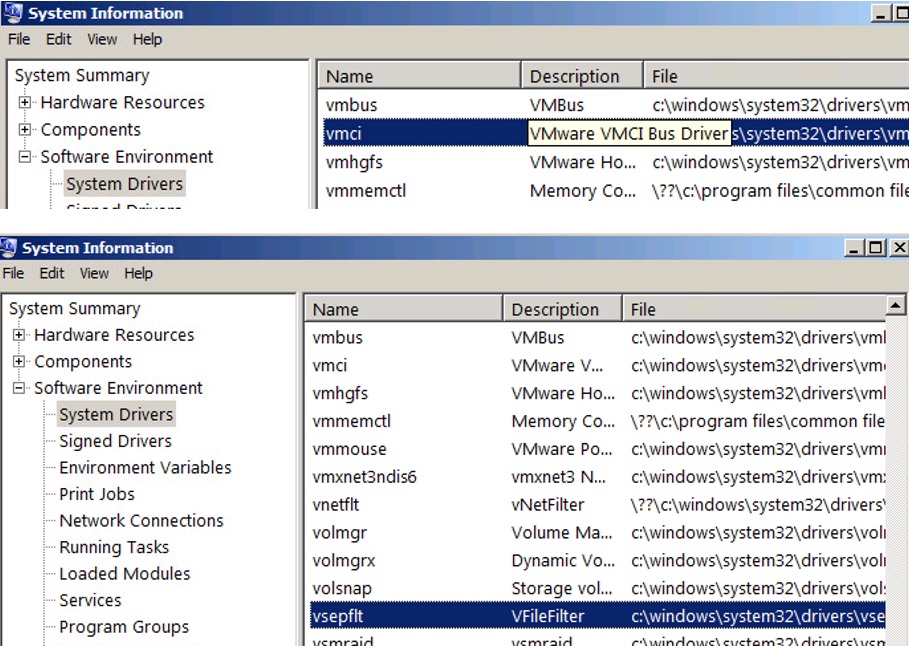
From the Host we can check the DSVA and also the EPSec Service configuration.
Log on to ESX – SSH
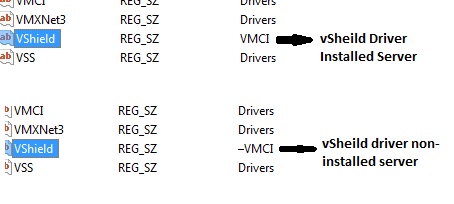
Try “esxcfg-advcfg –get /UserVars/VshieldEndpointSolutionsConfiguration” command
Host without DSVA configured then we will get the below result.

we will get the below result when host is running with the DSVA .

vmkping 169.254.1.39
PING 169.254.1.39 (169.254.1.39): 56 data bytes
64 bytes from 169.254.1.39: icmp_seq=0 ttl=64 time=0.173 ms
64 bytes from 169.254.1.39: icmp_seq=1 ttl=64 time=0.127 ms
64 bytes from 169.254.1.39: icmp_seq=2 ttl=64 time=0.109 ms
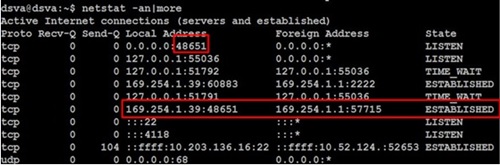
The 48651 port of the Antimalware process should display “LISTEN” whereas the connection between 169.254.1.39 and 169.254.1.1 should display “ESTABLISHED”.
Run the commands from the DSVA – ( Press F2 )
“~$ netstat –an | more” to verify.

Run the command “~$ ps –ef | grep ds_filter” to verify the Ds_filter process (PID).
We can find the DSVA logs under /var/opt/ds_gent/diag/ds_agent.log

DSM Policy functionality and the Network flow during the Deep Security Virtual Appliance (DSVA ) failure or down.
ESXi host will forward the packets to DSVA for scanning if the appliance is properly registered and drivers are properly bound to each other.As long as the DSVA remains responsive, meaning cpu usage is normal, status remains managed (online) status on the web console, DSVA should be able to process the packets without interfering with guest virtual machines activities.
Only when the DSVA hanged, on those instance packets may get dropped. When that happens, shutting down the DSVA is a quick fix to the problem, this removes the network binding and ESXi host stops forwarding packets to DSVA. We then need to collect DSVA logs to determine the root cause why DSVA went into a non-responding state.
Also when DSVA is down anti-malware and integrity monitoring functionality will not work.As far as the Firewall and IPS is concerned, the network traffic of the NICs goes through the VMware dvfilter Kernel Module installed as a part of the “Prepare ESX” operation.
In non-NSX environment , the traffic tagged with “dvfilter-dsa” is intercepted by the DVFilter Firewall ruleset and then forwarded to the dvfilter-dsa Kernel Module – the Trend Micro Filter Driver installed as a part of the “Prepare ESX” operation. The Filter Driver dvfilter-dsa (which resides on the ESXi host) performs the Firewall and Stateful checks then sends the raw packets that require the Intrusion Prevention analysis to the DSVA via the NIC VMXNET buffer interface using the VMSafe API. So if the DSVA goes down then the Stateful and firewall will still work but the Intrusion Prevention will not.
Please note, In an NSX based setup even the firewall and statefull will also take place at the DSVA. So if the DSVA goes down, Stateful Firewall and IPS will not work.
Advantages\Disadvantages of Deep Security Virtual Appliance (DSVA)-based protection:
Advantages of DSVA-based protection
- No footprint on protected virtual machines (VMs)
Protection will not result to resource contention on the VMs.
- Minimal update-related traffic
The absence of components on the VMs means that only update-related traffic such as virus pattern update, scan engine update, etc. occurs on the DSVA. The VMs are not affected by component updates.
Disadvantages of DSVA-based protection:
- Lack of in-memory scanning
If a Trojan manages to enter the VM, subsequent pattern updates may be able to detect the file component of the malware, but will not be able remove its in-memory components.
- No damage cleanup
Because of the absence of an in-guest component, the DSVA does not have the Damage Cleanup Service functionality which addresses changes to the Windows registry and similar malicious alterations.
- Limited HIDS capability
The DSVA is only limited to File-based Integrity Monitoring. It does not have the Log Inspection functionality.
- Lack of recommendation scan functionality (For DSVA 8.0 and below only)
The DSVA cannot retrieve metadata from the VMs that it protects, so the Deep Security Manager is not able to automatically ascertain the security requirements. Thus, the assignment of Deep Packet Inspection (DPI) and Integrity Monitoring (IM) rules is manual.
These disadvantages can be addressed by installing a DSA on the VM. However, a DSA will negate the DSVA advantages on resource contention and bandwidth conservation. Thus, administrators must assess the security needs of their environment to determine the appropriate combination of DSA-based and DSVA-based protection.
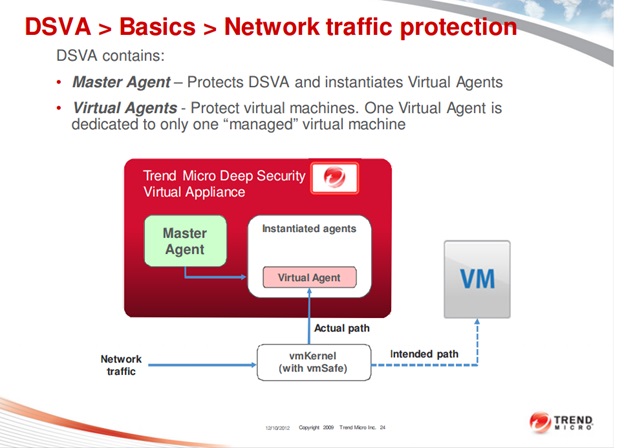
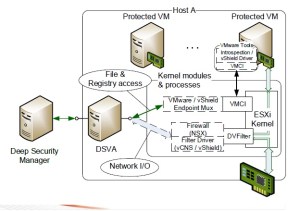
Deep Security Virtual Appliance (DSVA) Networking :
Pls check the below reference link for the more information and the below Pic and info is taken from the same link..


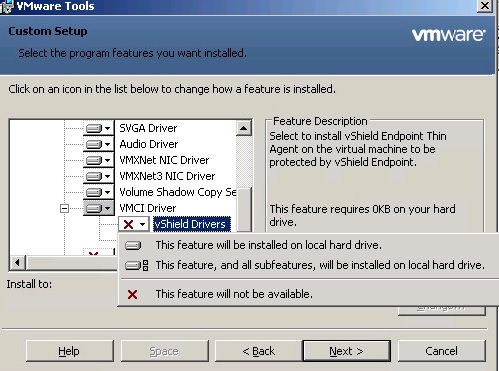
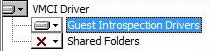
The Agentless protection protects Virtual Machines running on the ESXi host without installing the Deep Security software on them. The VM network I/O is intercepted on the ESXi hypervisor level and the vShield VMCI Drivers installed together with the VMware Tools implement the file and registry access operations
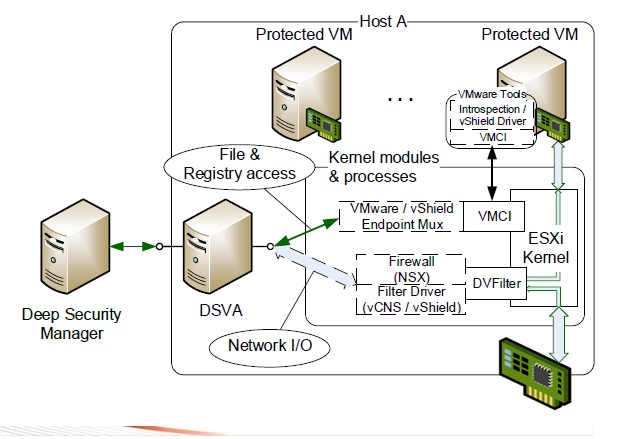
Access files and Registry on the VMs:
Agentless protection will use two different transport layers, EPSec ( vSheild EndPoint) driver is provided by VMware and it creates the EPSec transport and VMsafe-Net modules will create the traffic between the vSwitch portgroup and the VM’s virtual NIC.Network traffic to be inspected is routed through the VMsafe-Net Transport to the DSVA, which is registered with the VMsafe-Net driver provided by Trend Micro. While VMsafe-Net can operate on all packets passed through the VMsafe-Net components, EPSec only operates on that traffic sent to it via the EPSec Driver within the VM. This driver is required as file open and changes must be sent through the EPSec path to the DSVA. Not all file/block traffic is sent through the EPSec paths to the per-vSphere host DSVA. On file open the file blocks are sent, and from then on only the changed blocks.
The vShield / VMWare Endpoint framework includes the vShield (v.5.x), VMware Endpoint (v.6.0) or Guest Introspection (v.6.1) service installed on the Host and the vShield / Guest Introspection Drivers installed on protected VMs. Deep Security uses this solution to implement the Anti-Malware scanning, Integrity Monitoring and Recommendation Scans on DSVA.
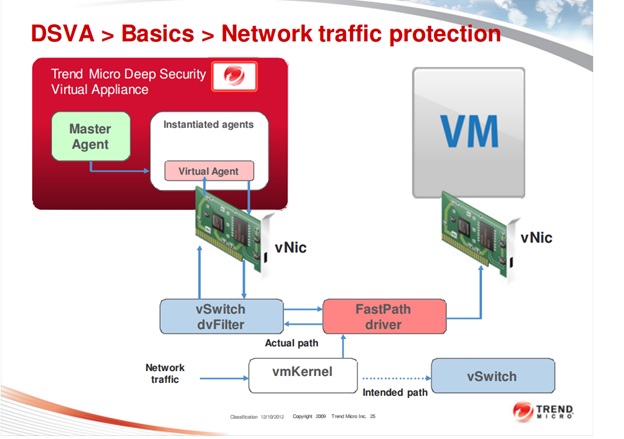
Network Scanning / Fast Path:
The Fast Path of the network scanning refers to the usage of the filtering extension of the ESXi Firewall (so-called DVFilter) to extract and redirect traffic to the loadable kernel module.
In vShield / vCNS 5.x, Deep Security Filter Driver receives the traffic and implements the Firewall and Stateful checks configured from Deep Security.
In NSX (v.6), the NSX Firewall receives the traffic and redirects it to DSVA for inspection.
Network Scanning / Slow Path:
DSVA implements the Intrusion Prevention and Web Reputation checks of the network traffic. When integrating with VMware NSX, DSVA also implements the Firewall and Stateful checks.
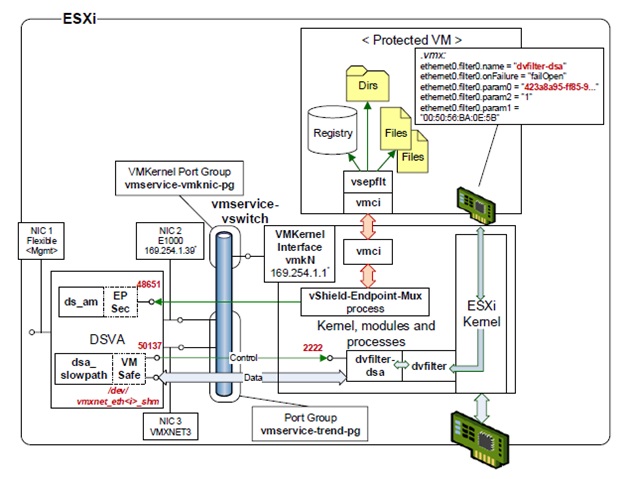
The processing of the network traffic relies on the VMSafe API and includes the following modules, connections and activities:

Data path:
All protected guest VMs get additional NIC settings that specify the network filter name – dvfilter-dsa – and parameters, such as the BIOS UUID and the MAC address.The network traffic of the NICs goes through the VMware dvfilter Kernel Module installed as a part of the “Prepare ESX” operation.
The traffic tagged with “dvfilter-dsa” filter is intercepted by the DVFilter Firewall ruleset and then forwarded to the dvfilter-dsa Kernel Module – the Trend Micro Filter Driver installed as a part of the “Prepare ESX” operation.
The Filter Driver dvfilter-dsa performs the Firewall and Stateful checks then sends the raw packets that require the Intrusion Prevention analysis to the DSVA via the NIC VMXNET buffer interface using the VMSafe API
The dsa_slowpath DSVA process receives the raw packets from the /dev/vmxnet_eth_shm buffer associated with the NIC VMXNET interface using the VMSafe API and performs the Intrusion Prevention analysis.
Control communication:
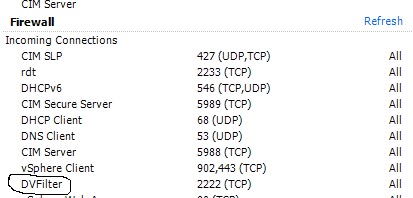
The control communication between the DSVA dsa_slowpath process and the dvfilter ESXi kernel Module is implemented via TCP using the DSVA NIC E1000:
- The dvfilter Kernel Module listens on port 2222 for TCP connections from the DSVA.
- The DSVA dsa_slowpath process listens on a dynamically assigned port for TCP connections from the dvfilter Kernel Module.
Sizing recommendations for DSVA.
Scan Cache settings:
Know the different Scan Cache settings, so you can calculate how much additional memory you need for the DSVA.
The Scan Cache function, which can enhance DSVA performance, was introduced in Deep Security 9.0. However, these settings are not included in the Scan Cache Configuration because the settings determine how the DSVA manages Scan Cache rather than how scan caching is carried out.
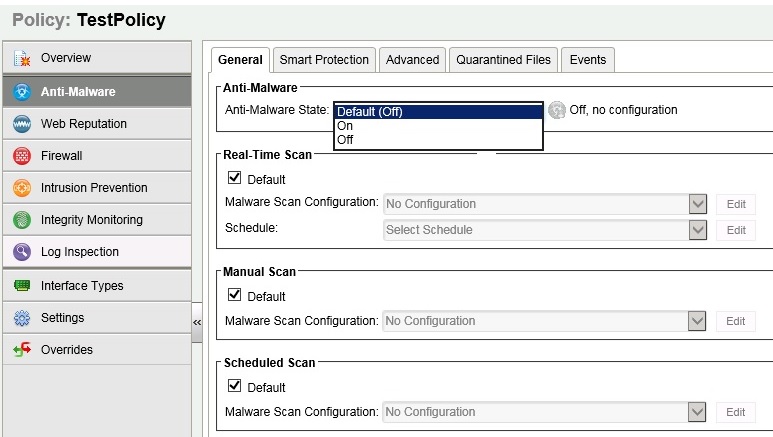
Scan Cache settings are controlled at the policy level, and can be accessed by opening a Policy Editor and going to Settings > Scan > Virtual Appliance Scans area.
These are the Scan Cache settings:
This determines the number of scans that the Virtual Appliance will perform at the same time. The recommended number is four. If you increase this number beyond eight, scan performance may begin to degrade. Scan requests are queued by the Virtual Appliance and carried out in the order in which they arrive.
- Max On-Demand Malware Scan Cache Entries
This determines, for Manual or Scheduled Malware Scans, the maximum number of records that identify and describe a file or other type of scannable content to keep. One million entries will use approximately 100MB of memory.
- Max Malware Real-Time Scan Cache Entries
This determines, for Real-Time Malware Scans, the maximum number of records that identify and describe a file or other type of scannable content to keep. One million entries will use approximately 100MB of memory.
- Max Integrity Monitoring Scan Cache Entries
This determines, for Integrity Monitoring, the maximum number of entities included in the baseline data for Integrity Monitoring. Two hundred thousand entities will use approximately 100MB of memory.
Based on these settings, determine the amount of memory you have to add to your DSVA.
By default, DSVA is assigned 2GB of memory. Here is the recommended memory for the DSVA machine, depending on the number of virtual machines per ESXi Host.
- Increase the memory to 2GB for a DSVA protecting 1 to 50 virtual machines.
- Increase the memory to 4GB for a DSVA protecting 51 to 100 virtual machines.
- Increase the memory to 8GB for a DSVA protecting 101 to 150 virtual machines.
- Increase the memory to 8GB for a DSVA protecting 151 to 200 virtual machines.
- Increase the memory to 12GB for a DSVA protecting 201 to 250 virtual machines.
CPU scaling is not required if only the Anti-Malware feature is used.

Upgrading of Deep Security Virtual Appliance (DSVA).
- From the vCenter, Power-off the Deep Security Virtual Appliance (DSVA).
- Right-click on the DSVA and delete if from the Disk. Set the ESX on Maintenance Mode.
- Delete the EPSEC driver. From the vShield Manager console, select the ESX host. Go to Summary tab and uninstall vShield Endpoint
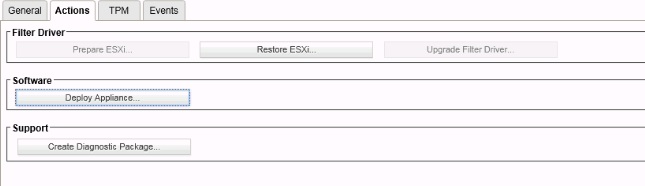
- Log on to the DSM console and initiate Restore ESX. It will delete all drivers installed and put them in “Unprepared” state.ESX will be restarted On the DSM console, right-click on VMware Center and initiate Synchronize. Initiate Prepare ESX afterwards
- Deploy DSVA.
Note: Do not activate the DSVA yet after installation. You need to configure it first.
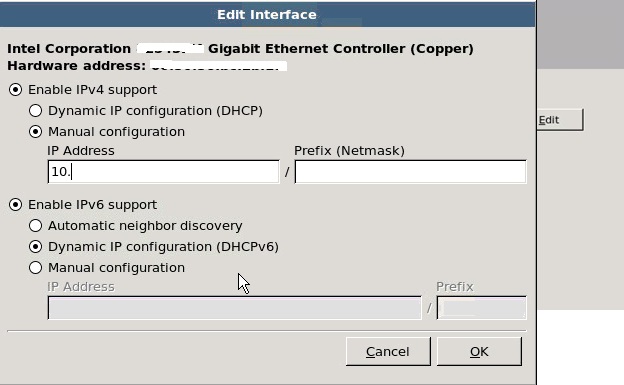
- Change the Network Adapter settings to be in the same network as the DSM.
- Log on to the DSVA console using the Username/Password: dsva.
- Define the Hostname, IP address, and Timezone.
- Restart the DSVA console.
- Log on to the DSM console. Verify that DSVA is now appearing. Right-click on DSVA and then click Activate.
Also we can select which version we need to deploy by going to the below path.
Administration – System Settings – Updates

Note: Aside from the pop-up window that appears after you initiate an action from the DSM, please also check the activity under Recent Tasks window fo the vCenter to verify if the action has already been complete or not.
In my Next blog I will explain about the Deep Security Agent .
Reference :
http://vmug.nl/downloads/VMUG2012/Albert%20Kramer%20&%20Danny%20Claproth%20-%20Making%20the%20most%20of%20vShield%20with%20agentless%20security%20from%20Trend%20Micro.pdf
http://esupport.trendmicro.com/solution/en-us/1098155.aspx
Click to access deep-security-virtualization-practice-en.pdf